
So, if you've been following along with The ongoing remodel part one - the fireplace, then you know this is now an outdated photo of my living room from before the walls, floor, and fireplace were removed!
I chose to add this original photo because it is the only one I have that shows the bookshelf before we started working on it. As you can see, this is also a reminder of what the living room looked like before we started the remodel.
Once the walls were painted grey, the brown wood bookshelf looked heinous (and the wood paneling that had originally graced the room was used as the backing for the built in.
I was determined to make it match the room.
In my dreams it was a beautiful white that popped against what my dad (not-so-lovingly) calls our battleship grey living room.
I figured easy peasy. I'll just sand it and paint it. Welllllll, let me tell you what a pain this turned out to be.
I borrowed and electric hand sander, which was a life saver, and got to work. In an afternoon I finished the right side of the bookcase and was feeling good...
...until the next day when I took a look at it. My house was now covered in dust (and let me tell you, you don't know dust until you demo a fireplace and chimney in the middle of your house) from the sanding. It was yellow and stuck to everything, but I looked at it with pride as a sign of all my hard work. That is until I looked closely at the shelves. The wood had an uneven look, and I was worried that I had sanded too deeply in some places.
Nope! In spite of the fact that it took me an entire afternoon balancing on a ladder, I had barely made it through that varnish! So, I picked up the sander and got back to work. This time, I spend a TON of time on each shelf, pressing firmly on the sander.
And at the end of the day, I had only finished two shelves. Exhausted, I tucked in for the night. I wasn't able to get back at it until the next weekend...
...when I discovered I STILL hadn't made it all the way through the varnish in some places! This stuff was as thick as lacquer! I was peeved!
So I walked away for a few weeks, let my frustration cool, and came back to it.
I gave it one more sanding and was able to finally get most of the varnish off.....the right side.
Looking at the half of the bookshelf I still had left, I got a little bummed out.
Again, I walked away for a few weeks.
Which was okay. We had wanted to get the living room finished before we moved in, but during the remodel we discovered we had termites, and the money we had saved to replace the floors and trim went into treating pests. So, while we saved up to put in the floors, I had plenty of time to get the shelves done.
I talked to my dad about the situation and he recommended I try a product called the gripper.

It is made for priming varnished wood, or so I was told.
Excited, I pulled the doors off the cabinets below the shelves. One I sanded and painted with 2 coats of my paint. The other I primed with the gripper and painted.
The gripper took about 5 minutes to dry completely and once covered with the paint actually looked better than the sanded + 2 coats!
I was sooooo excited and ready to get to work.
But... The life of a new homeowner is apparently never easy. We went out and bought more gripper (and other things we needed around the house, like a new ceiling fan, etc). We came home and decided we would tackle the bookshelf the next day. As we sat in bed filled with excitement and hope, there was a gurgling sound that floated in from our bathroom.
The septic had backed up. Both bathrooms had sewage flowing up into them. I will spare you the details, but let me just say it was not an experience I wish to repeat.
So once again the plans to work on the bookshelves were put on the back burner.
After having a technician come out, we learned that our septic field lines were crushed, meaning that the sewage couldn't flow out from the tank, which caused it to back up into our house.
The septic is still an ongoing issue.
However, there's not much I can do to help. My husband and father-in-law have been working on digging up the field lines to find the crushed pieces, and so this weekend I was finally able to get back to work on the shelves.

This is them right before I started priming (actually, you can see a little line of white on the top right where I started priming and remembered I wanted to take a picture first. :)

And here we are halfway finished with the first coat. The entire thing has been primed with the gripper, and the right side and cabinets have been treated to 1 coat of paint. I think I'm going to add a second coat of paint to the whole thing before I'm finished.
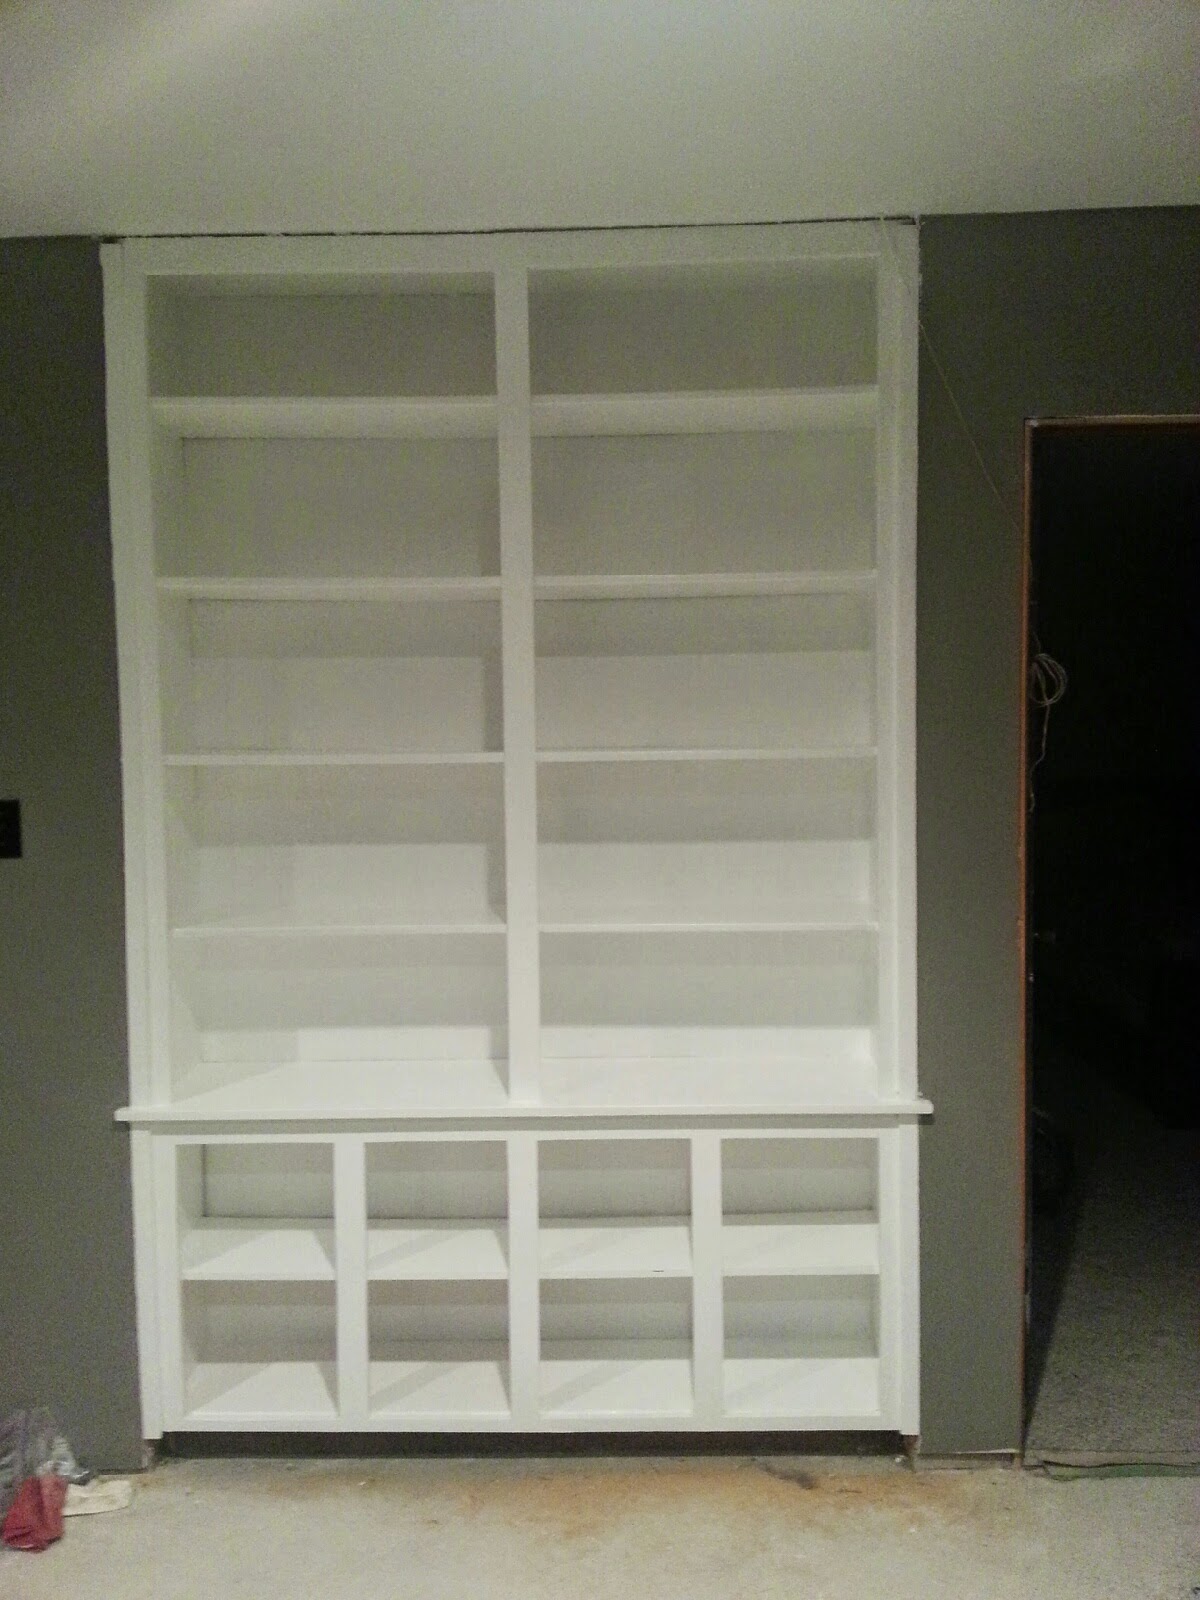
Yay! Painting finished. I did end up adding two coats all around.
I've also finished the doors. All that is left to do is attach them and install the new knobs (which I have yet to buy, lol).
More pics to come.
Oh. And on the plus side, we've finally saved up enough money for the floors! We ordered them in and they just arrived this weekend. We're planning on installing them starting this weekend. Hopefully pics to come. Look for an update in Part 3!!
No comments:
Post a Comment